 Español
 Português (Brasil)
 Français
 Deutsch
 Italiano
 Nederlands
 Polski
 Svenska
 Türkçe
 Русский
 日本語
日本語 한국어
한국어 简体中文
简体中文 Tiếng Việt
 Bahasa Indonesia
 繁體中文
繁體中文 Čeština
 Dansk
Dansk Norsk (bokmål)
 Suomi
Suomi Ελληνικά
 Română
 Magyar
 Українська
 ไทย
ไทย हिन्दी
 العربية
 עברית
עבריתHow to Advertise on Outbrain: Step-by-Step Campaign Setup
Account, pixel, structure, bids, creatives, review, section optimization — the complete Outbrain campaign setup walkthrough, with the practitioner details the official onboarding skips.


To advertise on Outbrain, you create a self-serve account, install the Outbrain pixel on your site, build a campaign with a conversion objective, one geo, one device type, and a daily budget, upload five to ten headline-and-image variants, set a CPC bid, and pass editorial review — most campaigns are live within a business day or two. The mechanics take an afternoon. Making the economics work takes structure, and that is what this guide adds: the tracking, bidding, creative, and optimization decisions that separate a profitable first month from a burned deposit.
Before you build: know what you're buying in 2026#
Outbrain merged with Teads in February 2025, and the combined company operates under the Teads name — the feed product advertisers know is intact, but menus and product names keep shifting as the platforms consolidate, so treat any 2024-era screenshot tutorial with suspicion and verify details against the official Outbrain help center. We unpacked the merger in Did Outbrain Become Teads? and the platform's full mechanics in How Outbrain Works.
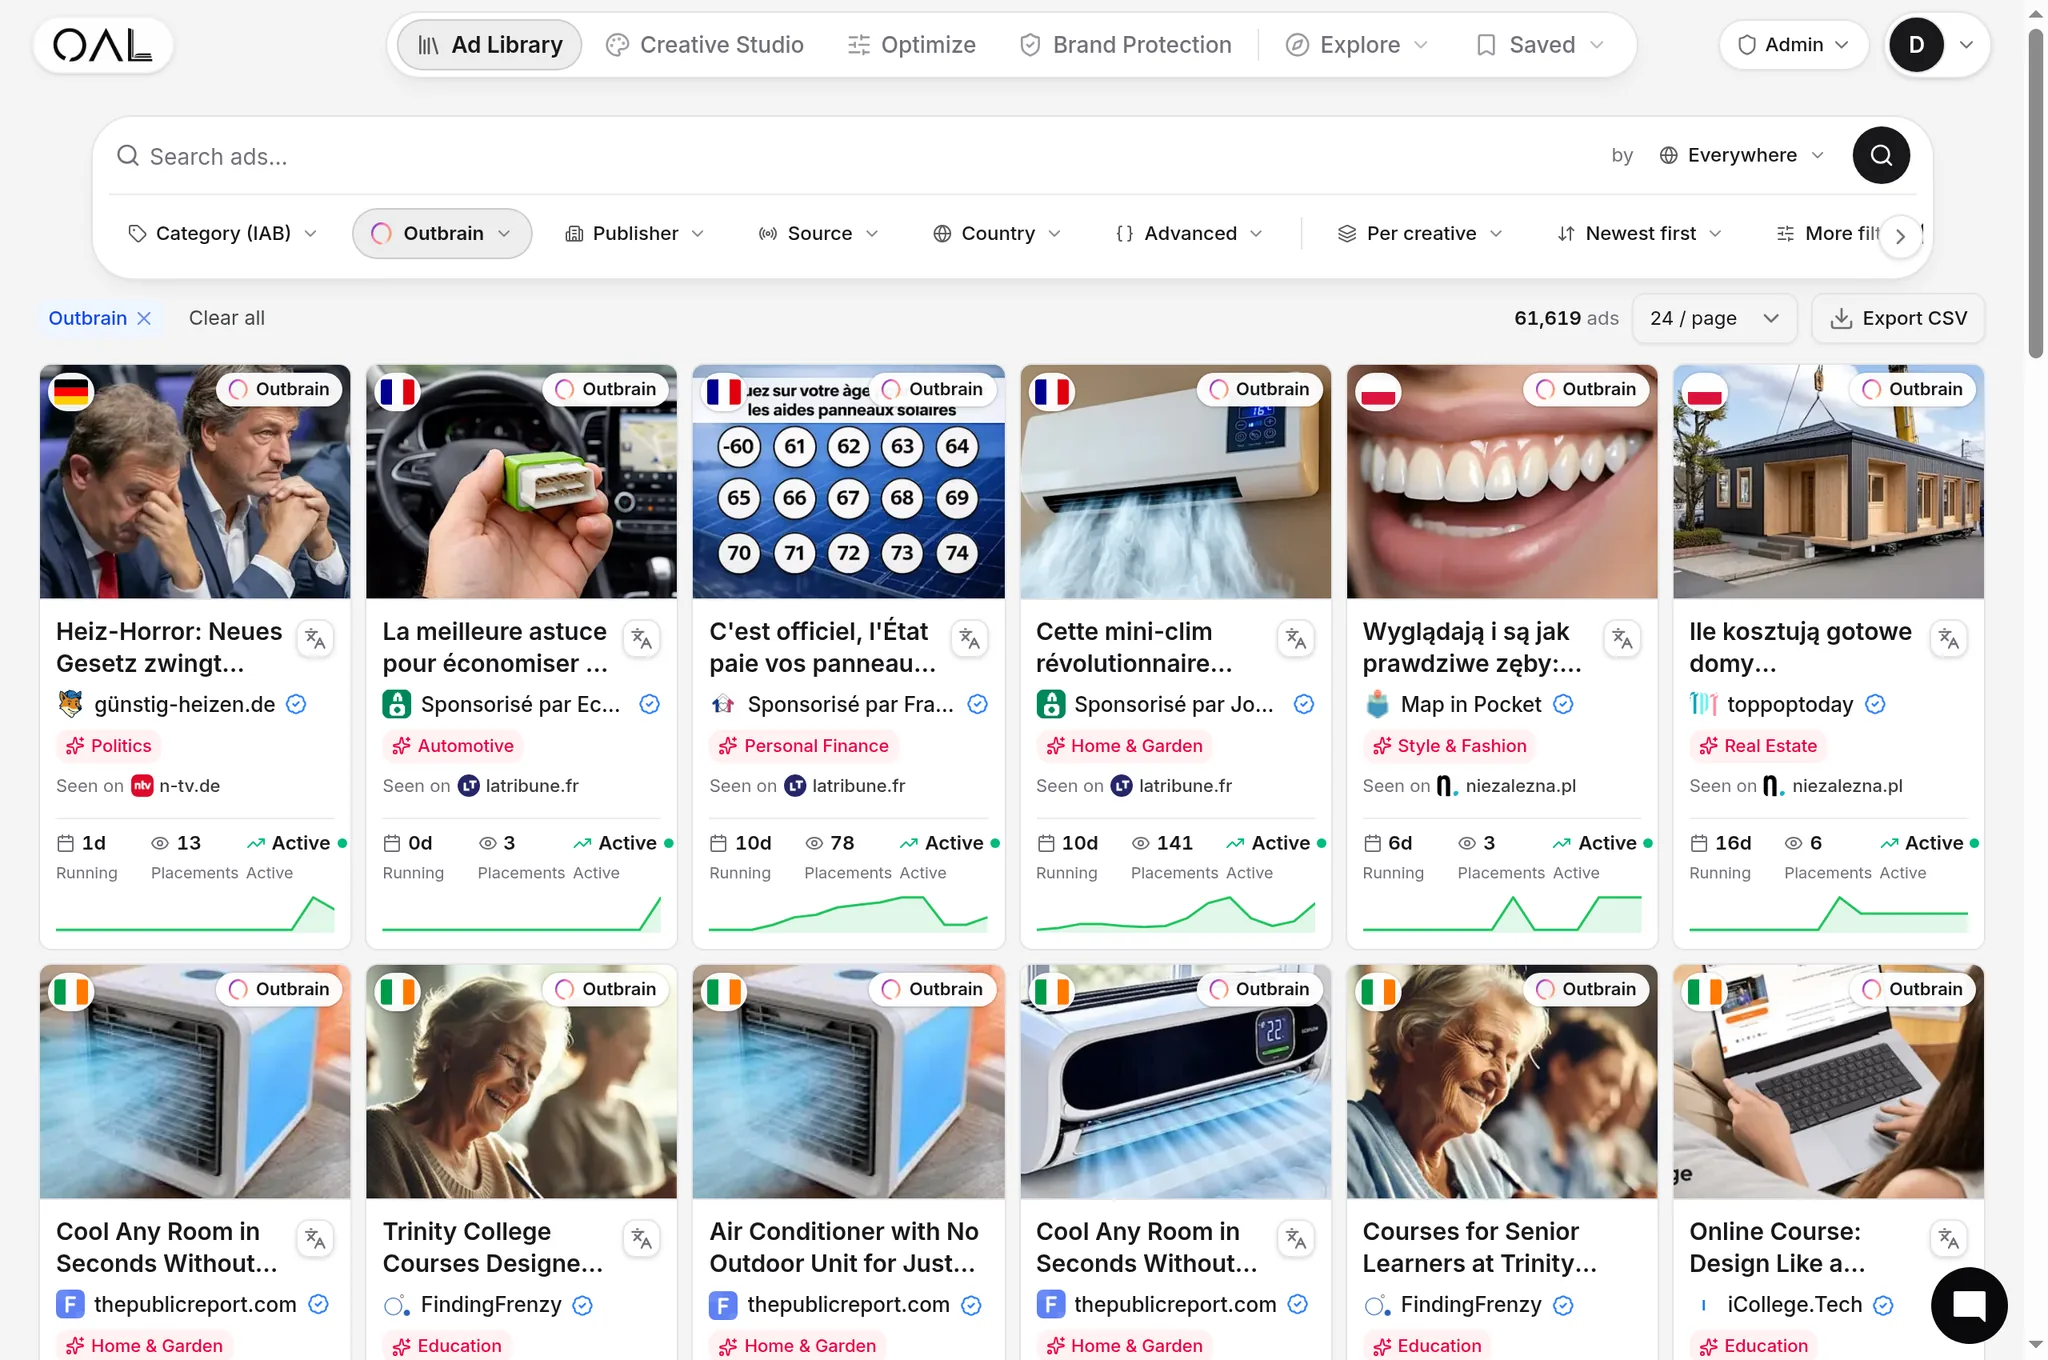
What you are buying: native placements — headline plus image — inside content feeds and article pages on premium publisher sites, priced per click. What actually runs there tells you what works there. In OpenAdLibrary's index of 108,573 live Outbrain creatives (June 2026), the leading verticals are insurance (4,345 classified live creatives), finance (3,990), health (3,102), and ecommerce (2,277) — direct-response money verticals, which means the network rewards measurable funnels, not vibes.
Two expectations to set before you spend:
- Cost: media buyers commonly report Tier-1 desktop CPCs from roughly $0.20 to $0.90 on premium native feeds, with mobile typically cheaper. These are practitioner-reported ranges, not official rates — your vertical, geo, and creative quality move them a lot. Cross-network context is in our native CPC benchmarks.
- Volume before verdicts: the algorithm needs conversions to optimize toward. Budget for a genuine learning period — enough spend to buy a few hundred clicks per creative — before judging anything.
Step 1: create your account and set up billing#
Sign up on the self-serve advertiser platform with your business details and payment method; billing is card-based for self-serve accounts, and daily budget minimums are low enough for a modest test (check the current minimums in the dashboard — they change and vary by market). Use a real business domain and a working, policy-clean website: account review looks at the advertiser, not just the ads, and thin or mismatched sites stall approvals.
If you expect meaningful spend, ask about managed support early — native networks assign human help at surprisingly low thresholds, and a rep who can explain a rejection saves days.
Step 2: install the Outbrain pixel before anything else#
Do not build a campaign first. Install the Outbrain pixel site-wide, define your conversion events, and confirm they fire — everything downstream depends on it:
- Base pixel on every page of the funnel, including pre-landers.
- Conversion events for each step that matters: lead, purchase, and at least one micro-conversion (for example, landing-page engagement or add-to-cart) so the algorithm has signal even while purchases are sparse.
- Server-side option: affiliates and lead-gen buyers passing conversions from a tracker or CRM should configure a server-to-server postback rather than relying on browser pixels alone — browser-side tracking undercounts, and undercounted conversions starve automated bidding.
- Test before launch. Fire a test conversion and confirm it lands in the dashboard. A campaign optimizing toward a silent pixel optimizes toward nothing.
The pixel also starts building your retargeting and lookalike seed audiences from day one — value you accrue even before the first campaign spends.
Alongside the pixel, standardize your URL tagging: append campaign, creative, and section macros to every destination URL so your analytics and tracker can attribute clicks at the same granularity the platform reports them. Native optimization lives at the creative-by-section level, and if your tracker only sees "outbrain" as a source, you'll be optimizing in the dashboard on one axis and in your tracker on another, with no way to reconcile the two.
Step 3: structure your first campaign#
Structure decisions you make now determine whether your reporting means anything in week three:
- Objective: choose a conversion objective for direct response. Traffic objectives buy clicks; you want the bidder optimizing toward your pixel events.
- One geo per campaign. CPCs, competition, and creative response differ enormously between countries — mixing the US with Tier-2 geos in one campaign produces a blended average that hides both the winner and the loser.
- One device class per campaign. Desktop and mobile behave like different channels on native: different CPCs, different conversion rates, different winning creatives. Split them at the campaign level so you can bid them separately.
- Daily budget at the campaign level, sized so the campaign is not throttled mid-learning. Start focused: one geo, one device, one offer.
- Naming convention from day one (
offer-geo-device-objectiveworks); future you, exporting reports at 11pm, will be grateful. - Scheduling: run full-day at launch even if you suspect dayparting will help. You can't see hourly patterns you never bought; restrict hours only after the data argues for it.
Step 4: choose a bid strategy#
Outbrain bidding is CPC-based, with automation layered on top. The strategies have carried names like Smart Bid — semi-automatic, where you set a base CPC and the system adjusts it up or down by placement — and fully automatic conversion bidding (maximize conversions, or toward a target cost); naming shifts post-merger, so confirm current options in the interface.
The practitioner playbook most buyers converge on:
- Start semi-automatic with a base CPC in the middle of the range your competitors plausibly pay. You keep control while the account has no conversion history.
- Feed the pixel until conversions flow steadily — automated strategies are only as good as the signal behind them.
- Then test fully automatic bidding in a duplicate or a new campaign and let it fight the manual setup on cost per conversion.
Bidding too low is the classic first-week error: native auctions simply stop serving you, you conclude "Outbrain has no volume," and the real problem was a bid 30% under the market. If delivery is anemic, raise the bid before touching anything else.
Step 5: build creatives that belong in a feed#
An Outbrain ad is a headline and an image entering someone's reading session — creative that looks and sounds like advertising gets scrolled past. Build accordingly:
- Five to ten variants per campaign. The platform rotates and finds winners; one creative is not a test, it is a coin flip.
- Story-shaped headlines — discovery, testimony, curiosity anchored to something concrete — outperform claim-shaped ones on native feeds. The recurring formulas, with live examples, are in Native Ad Headlines That Get Clicks.
- Editorial-style images: real settings, ambient light, no text overlays, no logo lockups. Upload the largest clean image you have and check the platform's current spec for exact dimensions.
- Mind the policies. Health claims, before/after imagery, and misleading celebrity angles are enforcement magnets. Review current content guidelines before writing — a rejected creative costs you days, a rejected account costs you the channel. Our creative best-practices guide covers what passes review and still clicks.
A practical way to generate the variant set: take one angle and rotate its frame. If the offer is a posture device, the discovery frame is "I ignored my back pain for years — then a physiotherapist showed me this"; the testimony frame is "A Physiotherapist Explains Why Stretching Doesn't Fix Desk Back"; the avoidance frame is "The 3 Sitting Habits Physiotherapists Warn About"; the question frame is "Desk Job Wrecking Your Back?". Four frames, one angle — plus two image treatments each — and you have a real test matrix instead of eight disconnected guesses.
Step 6: send the click somewhere built for native traffic#
Feed traffic is cold. The reader clicked a story, not a product — so the page that receives them should finish the story before it sells. That is why so many winning Outbrain funnels route through an advertorial or quiz-style pre-lander rather than straight to an offer: the pre-lander pays off the headline's promise, builds the problem, and hands a warmed-up visitor to the conversion page.
Direct linking to a product page can work for simple, cheap, visually self-explanatory products — test it — but if your offer needs any explanation at all, build the advertorial first. One compliance non-negotiable: advertorial pages must be clearly disclosed as advertising. The FTC's native advertising guidance is explicit, and we summarize the practical rules in our FTC disclosure guide.
Step 7: pass review and launch#
Every creative goes through editorial review — typically resolved within a day or two, though timing varies. The common rejection causes are predictable: sensational or misleading headlines, prohibited category claims, image violations, and landing pages that do not match the ad's promise or lack functioning privacy/contact pages. Fix-and-resubmit is normal; serial violations are what endanger accounts.
Launch early in the week if you can — you want several clean weekdays of data before weekend behavior muddies the read.
Step 8: the first two weeks — optimize sections, not vibes#
Outbrain's equivalent of placement optimization happens at the publisher-section level, and it is where native campaigns are actually won:
- Days 1–4: hands off. Let delivery stabilize and data accumulate. Kill only genuine disasters (spending heavily, zero engagement).
- Days 5–14: work the section report. Sort by spend. Sections with meaningful spend and no conversions get bid-adjusted down or blocked; sections that convert get bid-adjusted up. This single loop — funding good sections, defunding bad ones — is most of native optimization.
- Prune creatives once each has enough clicks to judge: keep the two or three earning clicks and conversions, replace the rest with new variants of the winner's angle.
- Scale gently. Raise budgets and bids in steps, not leaps — aggressive jumps reset delivery patterns and can un-learn a working campaign.
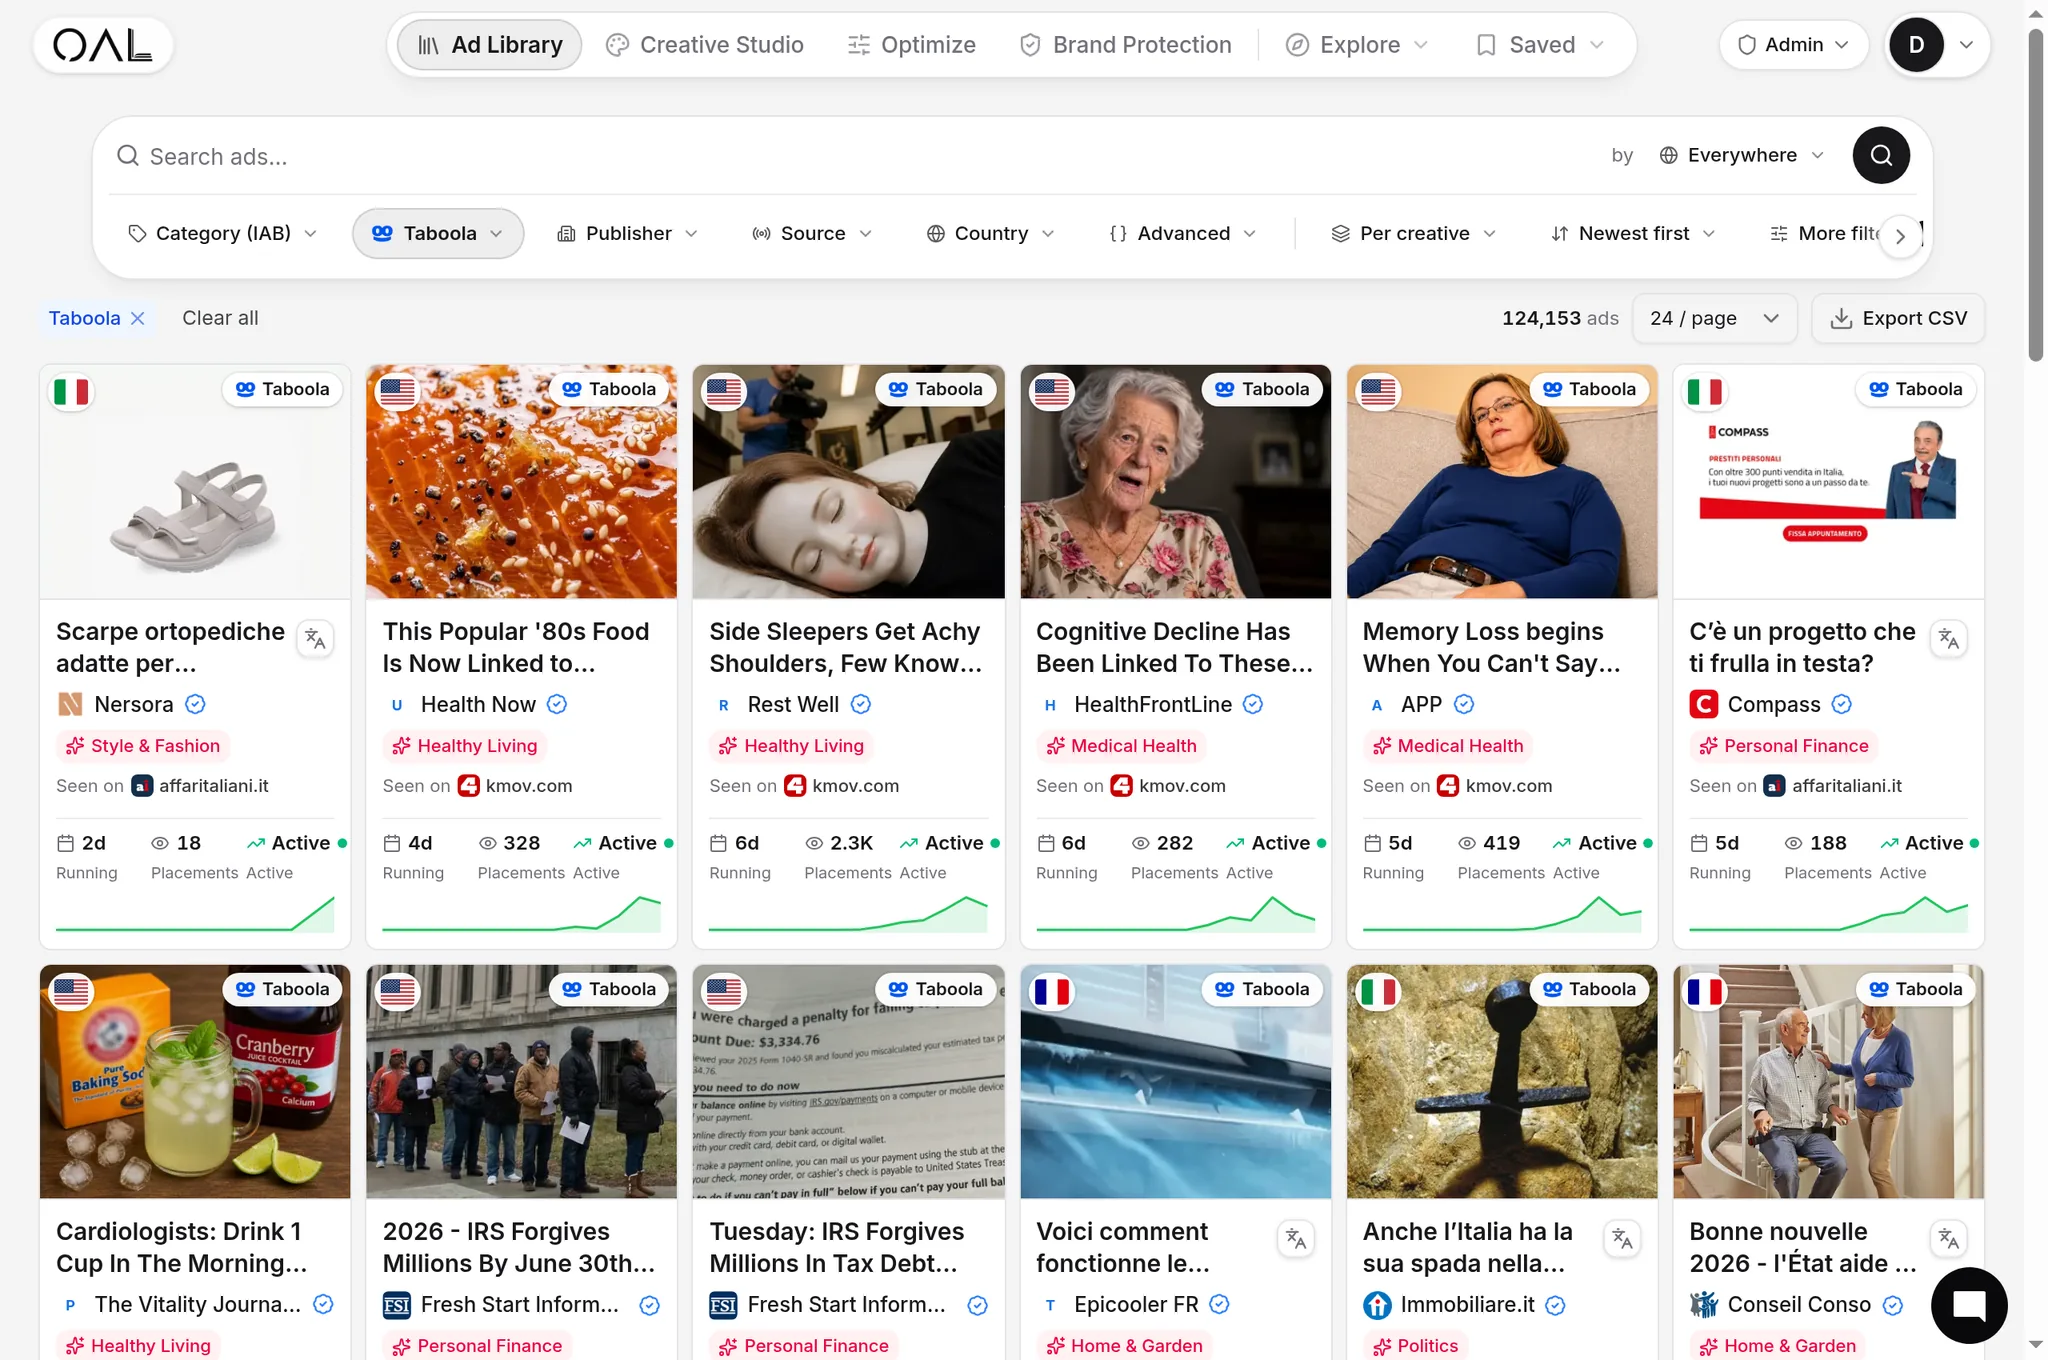
Competitive research shortcuts this whole phase. Before and during your launch, study what already survives on the network: OpenAdLibrary's Outbrain spy tool shows live Outbrain creatives with advertisers, observed run times, and traced landing pages — the ads still running after 30 days are your real benchmark, and the workflow for mining them is in our Outbrain ad spy guide.
A realistic first-month plan#
Putting the eight steps on a calendar keeps you honest about the learning period:
- Week 0 (before spending): pixel installed and verified end to end, conversion events firing from a test, advertorial built and disclosed, five to ten creatives drafted against the competitive research, campaign structured as one geo / one device / one offer.
- Week 1: launch with semi-automatic bidding at a realistic CPC. Touch nothing for the first several days except genuine disasters. Your only jobs are confirming delivery (raise the bid if serving is anemic) and confirming conversions record correctly.
- Week 2: first real optimization pass. Sort the section report by spend; block or bid down the sections spending without converting, bid up the ones converting under target. Kill clearly dead creatives, replace them with new variants of whatever headline is earning both clicks and conversions.
- Week 3: second section pass — the report has real depth now. If conversion volume is steady, launch the fully automatic bidding test alongside the manual campaign.
- Week 4: compare cost per conversion between bid strategies, consolidate budget into the winner, and make the scale-or-stop call on the channel with a month of evidence instead of a week of anecdotes.
Buyers who compress this into ten days almost always misread the channel — usually concluding it "doesn't work" while their pixel was mis-firing or their bid was under market. The calendar is boring on purpose; boring is what makes the week-4 decision trustworthy.
Common mistakes that burn first budgets#
- Launching without a verified pixel — the account learns nothing and every dollar is anecdote.
- Judging in three days — native needs volume; verdicts before a few hundred clicks per creative are noise.
- One creative, one campaign, three geos — unsplittable data, unfixable campaign.
- Bidding timidly — under-bid campaigns don't serve, and silence looks like "no volume."
- Direct-linking a complex offer — cold feed traffic needs the advertorial bridge.
- Ignoring the section report — the averages look fine while a handful of bad sections quietly eats a large share of spend.
- Refreshing creative too late — even winners fatigue as the network cycles them through the same feeds; have the next variant of the winning angle drafted before the current one decays, not after.
- Reading CPC instead of cost per conversion — a cheaper click that never converts is the most expensive traffic you can buy; the funnel math is the only scoreboard that matters.
Set up in an afternoon, respect the learning period, work the section report weekly, and Outbrain becomes what it is for thousands of insurance, finance, and health advertisers in the index: a scalable second (or first) native channel with premium-publisher reach.